Table of Contents
ToggleGetting started in woodworking doesn’t require dropping thousands on fancy equipment. The right essential woodworking tools, a mix of hand and power tools, paired with solid measuring equipment and safety gear, give beginners everything needed to tackle projects confidently. Whether you’re building a simple shelf or assembling furniture, having the core toolkit lets you work smarter and finish faster. This guide walks through the specific tools that earn their space in a beginner’s workshop, explains why each matters, and helps you build a foundation without waste or guesswork.
Key Takeaways
- Essential woodworking tools for beginners combine hand tools (saws, chisels, planes), power tools (cordless drill, circular saw, jigsaw), and measuring equipment to build projects confidently without expensive equipment.
- Hand tools like a quality handsaw, chisel set, and block plane handle most detail work and edge finishing, while investing in mid-range rather than cheap tools prevents rapid dulling and frustration.
- A cordless drill (18V or 20V), circular saw, and random orbital sander form the core power tool trio that enables faster work and opens up designs that hand tools alone cannot achieve.
- Measuring accuracy requires a 25-foot tape measure, speed square, combination square, and chalk line—precision tools that prevent costly mistakes and ensure repeatable results across projects.
- Safety gear including safety glasses, hearing protection (30 dB rated), N95 dust masks, and work gloves is mandatory and non-negotiable when using power tools.
- Build your toolkit gradually by starting with hand and measuring essentials, adding a cordless drill, then expanding to specialized power tools as your projects demand rather than buying everything upfront.
Hand Tools Every Woodworker Needs
Saws and Cutting Tools
A handsaw and a quality miter box saw handle most crosscutting jobs without needing electricity. A handsaw (typically 20 inches, with 8 to 12 teeth per inch) cuts rough lumber quickly when you’re ripping or crosscutting. For cleaner angle cuts on trim or molding, a Japanese pull saw actually outperforms many power tools, the pull stroke gives better control and generates less tearout than Western push saws.
For straighter, longer cuts, a circular saw stands as the workhorse of most DIY shops. A 7.25-inch blade handles standard lumber: a 6.5-inch blade works on thinner stock. If you’re hanging drywall or cutting plywood repeatedly, nothing beats the speed of a corded or cordless version. A miter saw (10-inch or 12-inch) is invaluable for crosscutting boards to length, it’s faster and cleaner than a handsaw for production work.
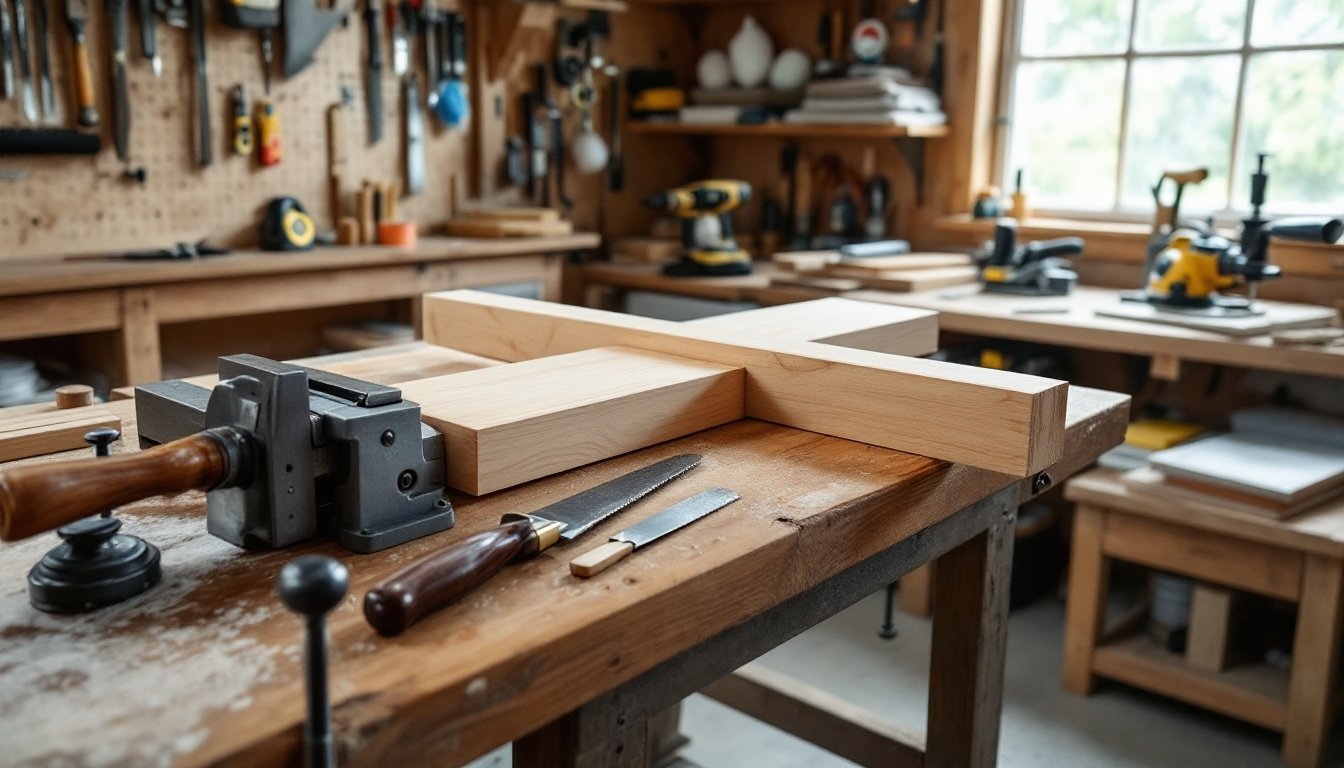
Chisels, Planes, and Shaping Tools
A basic chisel set (¼, ½, ¾, and 1 inch) handles mortising, detail work, and cleaning out corners. Cheap chisels dull quickly and fight you: mid-range chisels from reputable makers hold an edge longer and cost far less than premium brands. Keep them sharp, a dull chisel is dangerous because you’ll push harder and lose control.
A block plane (typically 6 to 7 inches long) takes off high spots, bevels edges, and smooths grain tearout on end grain. Most woodworkers reach for a block plane more than any other hand plane. A jack plane (longer, roughly 15 inches) handles rough stock milling if you’re not using a power planer. For detail work and inlay, a surform tool or rasp removes stock quickly where precision hand tools would take forever.
Power Tools That Make Work Easier
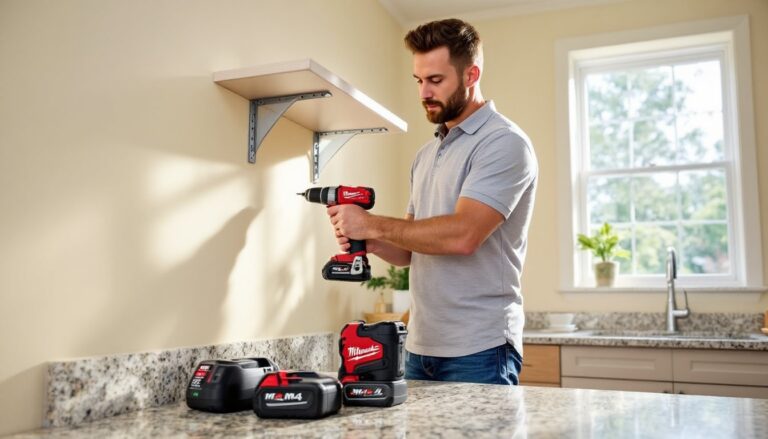
A cordless drill-driver is the gateway drug to woodworking. Look for 18V or 20V models from established makers: they handle fastening, light drilling, and driving screws with minimal fuss. Pair it with a hammer drill if you’re ever working with masonry or concrete anchors.
A jigsaw (orbital action, variable speed) cuts curves, notches, and internal holes that handsaws can’t reach. Beginners often overlook this tool, but a jigsaw opens up designs that otherwise require expensive bandsaw work. Keep multiple blade types on hand, wood, metal, and fine-tooth versions each serve different purposes.
A random orbital sander (5-inch or 6-inch) smooths surfaces and between-grit transitions faster than hand sanding. 80-grit, 120-grit, and 220-grit sandpaper covers most furniture and trim prep work. Belt sanders exist but tend to be overkill for residential woodworking.
If you plan to rip lumber or cut sheet goods regularly, a cordless drill stands as the gateway to many projects. A table saw requires floor space, electrical capacity, and serious safety discipline, rent one before buying if you’re unsure. Many beginners find a circular saw on a track or straight edge does 80% of what a table saw does with a fraction of the footprint and cost.
Measuring and Marking Essentials
Accuracy starts with the right measuring gear. A 25-foot tape measure (1-inch width) is the standard: the wider blade resists collapse when extended. A speed square (7-inch or 10-inch aluminum) handles quick 45° and 90° marks on lumber and makes angle cuts repeatable.
A combination square (12-inch blade) marks 45° and 90° lines, sets depth gauges, and locates center marks. Many DIYers grab one and never look back. A carpenter’s pencil marks boldly on rough lumber: ballpoint pens fade and smudge. A chalk line snaps long, straight reference lines on plywood or large assemblies, invaluable when you need precision across 8 feet.
A torpedo level (24 inches) checks plumb and level for shelves, cabinets, and structural components. A laser level sounds fancy but costs under $50 for a basic model and saves hours on multi-point layout. Reference resources like the measuring tools guide for precision techniques and tool selection.
Safety Gear and Workshop Setup
Never skip PPE, it’s not optional or optional. Safety glasses or a face shield prevent wood chips and dust from hitting your eyes during power tool use. Hearing protection (earplugs rated 30 dB or higher) is mandatory when using circular saws, belt sanders, or routers. Dust masks or respirators (N95 minimum, P100 if sanding hardwoods) protect your lungs. When working with power tools producing fine dust, a shop vacuum with HEPA filtration keeps your lungs and workshop clean.
Cut-resistant gloves protect hands when handling rough lumber or sharp sheet edges, but don’t wear them near spinning bits or blades, they’ll snag. Work gloves (leather or cotton) handle tool handling and rough stock. Steel-toe boots keep your feet safe if heavy lumber drops.
Your workshop doesn’t need to be fancy. A simple workbench (4 feet by 2 feet minimum) anchored to the floor gives you a stable surface. A vise bolted to the bench holds stock while you saw, chisel, or plane. Storage keeps tools accessible: pegboard, wall-mounted shelves, or a tool cabinet all work. Many DIYers organize tools using wall space to keep the floor clear and prevent tripping.
Ensure your outlet has dedicated, grounded circuits, don’t daisy-chain power strips. Most new home circuits run 20 amps, enough for basic cordless tool charging and a shop vacuum running simultaneously.
Conclusion
Building a woodworking toolkit is a gradual process. Start with hand tools (saws, chisels, planes), add a cordless drill and measuring essentials, then expand into power tools as your projects demand them. Quality matters, especially on tools you’ll use daily. Cheap saws dull fast, flimsy tape measures bind, and underpowered drills frustrate. Invest slightly more in core tools and upgrade cosmetics later. With the foundation laid in 2026, you’re ready to build confidently.